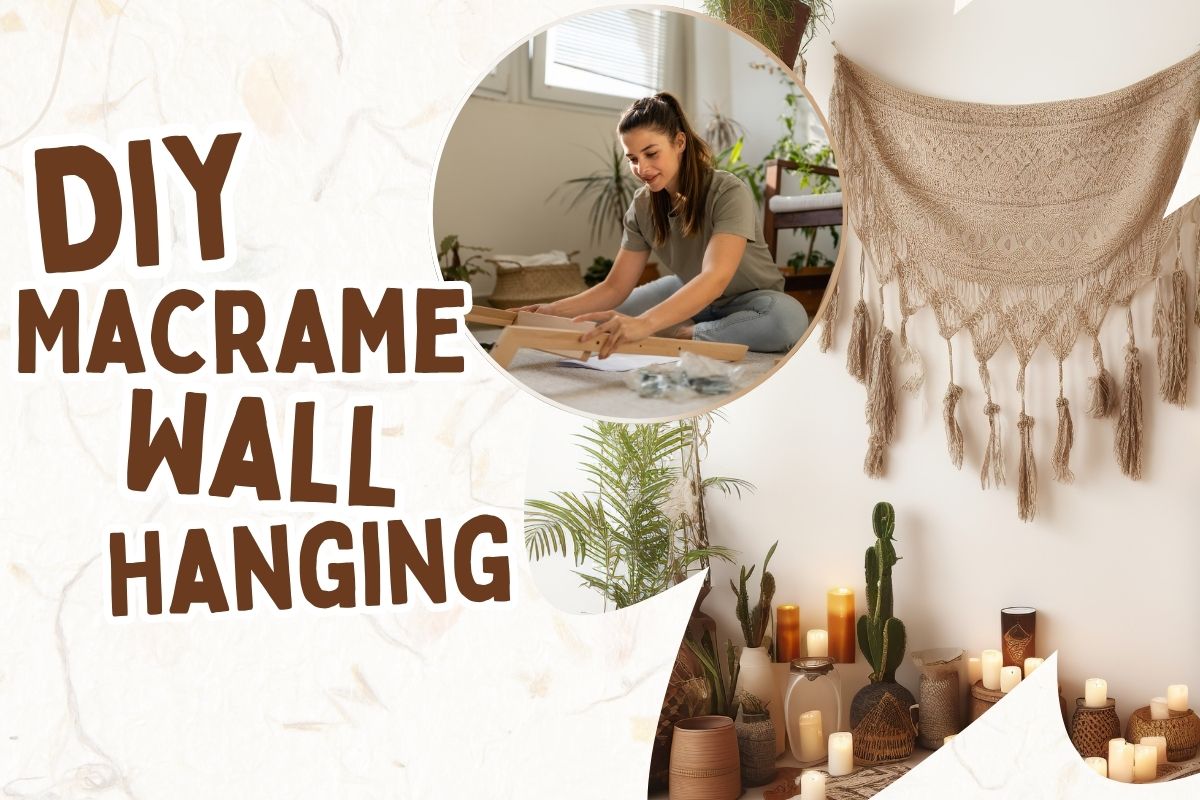
Macramé might sound like one of those fancy crafts that only super creative people do, but guess what? It’s not that complicated. In fact, making your own macramé wall hanging is kind of relaxing, and you don’t need to be an expert to pull it off. If you’ve got some string, a stick, and a little patience, you’re good to go.
This guide isn’t full of tricky words or stiff directions. It’s just a plain and friendly way to walk you through the process, whether you’re crafting for fun or to give your room a fresh touch.
What You’ll Need
Let’s start with the basics. No need to hit up a speciality craft store (unless you want to). Here’s what you’ll need:
- Macramé cord – Cotton is easiest to work with. Try 3 mm or 4 mm thickness.
- A dowel or stick – A smooth wooden dowel from the store works great. Or grab a sturdy stick from outside if you want a more rustic look.
- Scissors – Sharp ones make life easier.
- Measuring tape – Helps keep everything even.
- Optional: A comb for fringe, a hook to hang your work while tying knots, and maybe some beads if you want to jazz things up.
Tip: If it’s your first time, keep it simple. Fewer knots, less confusion.
Measure and Cut Your Cords
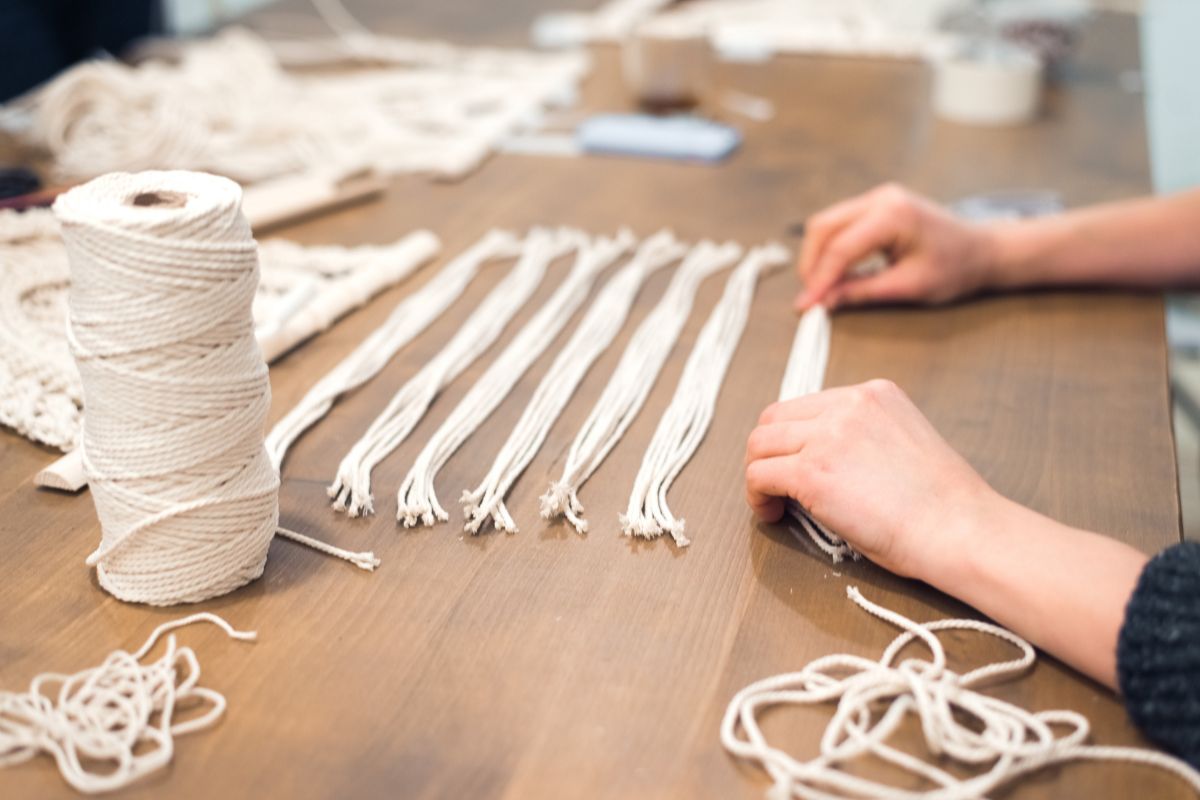
This part’s a little boring but important.
Decide how long you want your wall hanging to be. Then cut your cords to be about four times that length. Why? Because the knots take up cord length, and you’ll need extra for fringe at the bottom.
For example, if you want the wall hanging to be 20 inches long, cut each piece about 80 inches.
Let’s say you’re using 10 cords. Cut 10 pieces, all the same length. Easy.
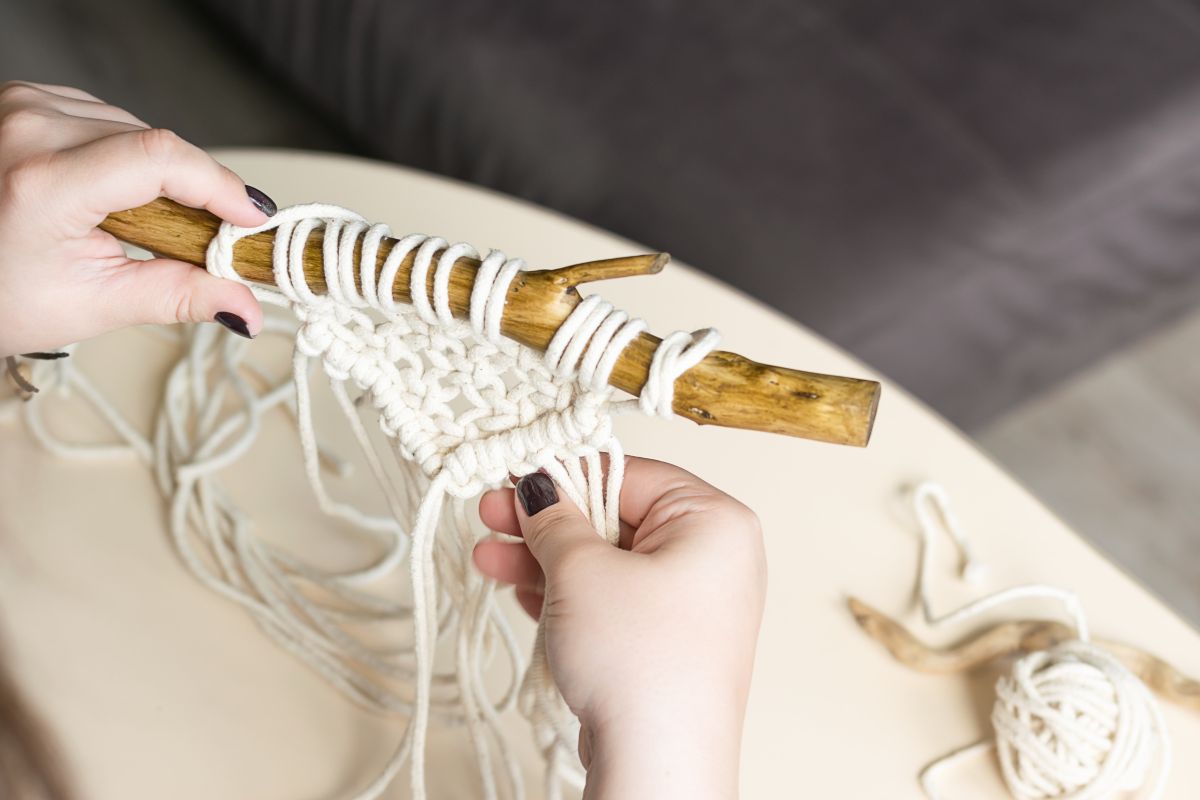
Attach the Cords to the Dowel

Now it starts looking like something.
Use a simple knot called the lark’s head knot to attach each cord:
- Fold the cord in half.
- Slide the folded part (the loop) behind the dowel.
- Pull the two loose ends through the loop and pull tight.
Boom. Now your cord is hanging. Do this for each piece until your dowel’s full.
Learn Just a Few Knots
Don’t stress — you don’t need to learn 20 knots. Just a couple of easy ones will get you far. Here are the main ones you’ll use:
a) Square Knot (the classic)
This is the knot most wall hangings use. It’s sturdy, neat, and pretty.
- You’ll need four cords: two working cords (the outside ones) and two filler cords (the middle ones).
- Cross the left working cord over the two centre cords and under the right one.
- Pull the right cord under the centre cords and through the loop on the left.
- Pull tight.
- Then do the same from the other side to complete the square.
Practice it a couple of times. After that, your hands remember it.
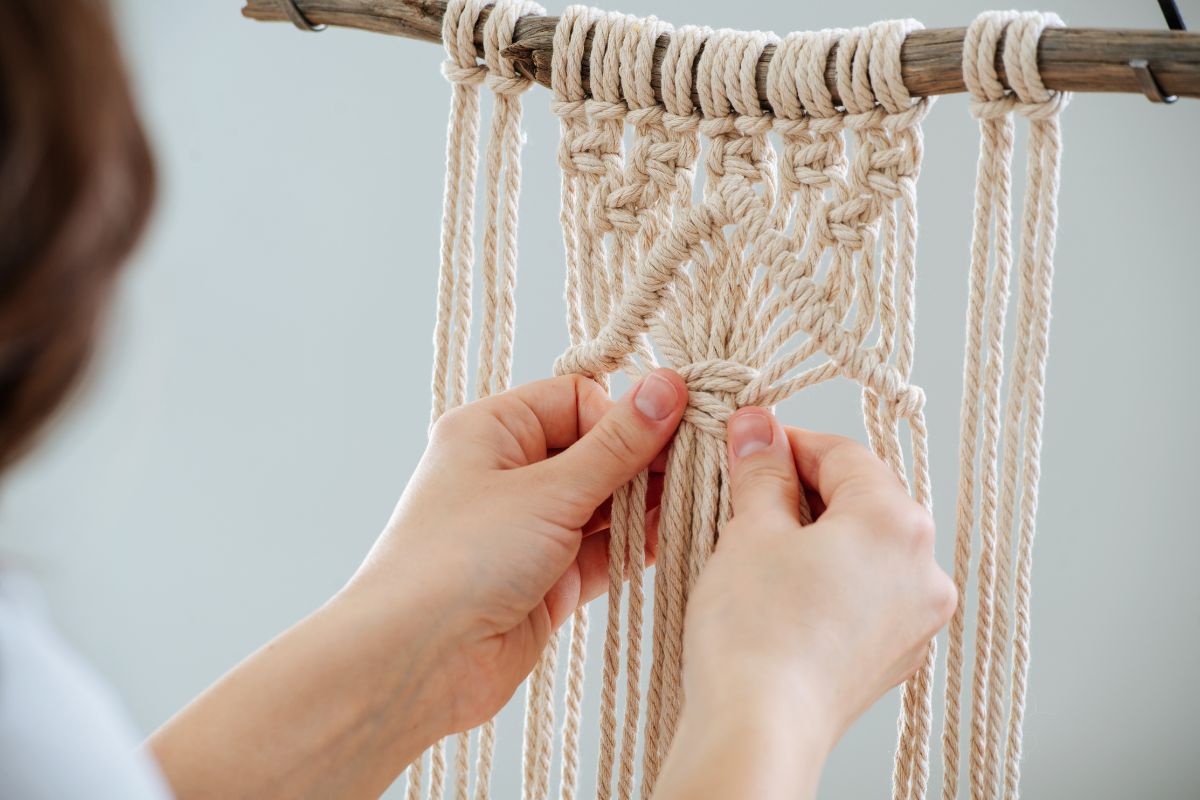
b) Double Half Hitch (great for diagonal patterns)
This one’s good for shaping.
- Pick one cord to be your “anchor”.
- Take the cord next to it and wrap it around the anchor cord twice.
- Pull tight each time.
- Repeat with each cord down the row to make a slanted line.
That’s it! Seriously.
Pick a Simple Pattern to Start
Don’t try something super complicated your first time. Keep it chill. Try something like:
- A row of square knots
- A second row where you skip the first knot and tie between the cords
- A diagonal row of double half-hitch knots
- Then repeat or reverse it
As you get more comfortable, mix things up. Add beads between knots. Change directions. Try making triangles or diamond shapes.
There are tonnes of videos online, too. You don’t have to follow them perfectly — just get the general idea.
Comb and Trim the Fringe
When you’re done with the knotting part, you’ll have loose cord ends hanging down. That’s your fringe.
Use a comb to fluff out the strands if you like the frayed look. Then use sharp scissors to trim it straight across, into a V-shape, or even wavy. Whatever suits your style.
This part’s oddly satisfying. It’s like giving your wall art a haircut.
Hang It Up
Take a step back and admire your work.
Hang the dowel on a nail or hook. You can use some extra cord as a hanging string or just let the dowel rest on hooks at each end.
Put it in your living room, above your bed, in the hallway — wherever you want a little handmade charm.
Also, check out more fun DIY projects!
Some Real-Life Notes
- If your knots aren’t perfectly even, no big deal.
- If your cord gets a little tangled, just take a breath and untwist it.
- Don’t compare your first wall hanging to the ones on Pinterest. Those people probably made 50 before that one.
Crafting is supposed to be fun, not frustrating.
Want to Make Another One?
Good news — it gets easier the second time.
Once you get the hang of the knots and how much cord you need, you can make:
- Mini wall hangings as gifts
- Plant hangers (also macramé!)
- Curtain tie-backs
- Keychains or bag charms
Macramé’s more versatile than it looks. You don’t need to buy new supplies for every project, either. Leftover cord can go a long way.
Final Thoughts
Making a DIY macramé wall hanging isn’t about being perfect. It’s about doing something with your hands, creating a piece that’s totally yours, and maybe even finding a new hobby in the process.
So don’t overthink it. Cut some cords, tie some knots, hang it up. You might surprise yourself.
If you make a crooked one? Who cares? That’s character.
And honestly, when someone comes over and says, “Whoa, did you make that?” — that moment’s worth all the effort.