A computer’s graphics card is one of its most crucial components. A PC contains a powerful GPU inside, which is used for gaming, video editing, or any other visual applications.
A GPU is in charge of handling graphic data processing and producing a display output for screens. Many companies keep on releasing more powerful and new graphics cards every year.
Hence, it becomes necessary to keep up with the most powerful version of the graphics card to get optimum PC performance. But many users find the process of setting up new graphics cards in their CPU tricky.
So, to help you with it, in this post, we are going to discuss the steps to set up graphics cards and update drivers.
Steps to Install Graphics Card in the CPU
Below is the step-by-step procedure to install the graphics card on your computer easily.
Step 1: Tweak your PC’s parts
It is necessary to prepare your PC before installing a new graphics card. To begin, remove the power supply of your PC and of all the other attached devices.
Next, you need to take off the panel on the motherboard’s opposite side. You can find this panel on the back of your computer that has several ports, including USB, display connectors, Ethernet, and more.
This motherboard’s I/O panel will enable you to determine which end of the motherboard is on. To easily reach the motherboard, you may lay the computer on its side and take the opposite panel out.
Step 2: Open the PCIe slot
All current major graphics cards use PCIe slots to connect to your motherboard. These connectors have a clip on the end that you can press to open to attach your graphics card. It is similar to a RAM/DIMM slot.
Also Read – DIY Macrame Wall Hanging
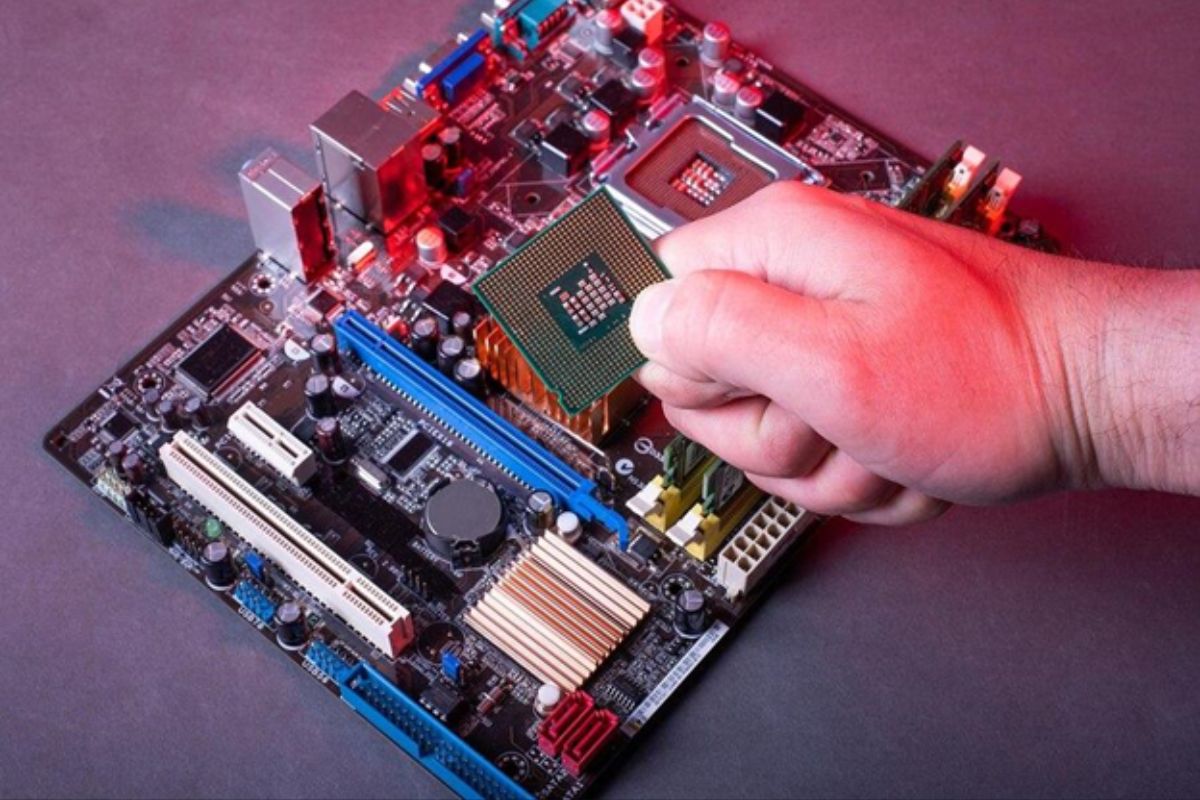
Step 3: Insert the graphics card
It’s now time to install the graphics card. Be careful while doing this to avoid any mistakes. Also, remember, a GPU can only be installed into a PCIe slot if the card is correctly oriented.
The metal plate that holds the display connectors will face the case’s back, whereas the fans on the graphics card typically face straight down.
Start by aligning the main connector of your graphics card with the PCIe slot. Also, pay close attention to how the grooves on the connector line up with those on the slot. Make sure the I/O plate for the graphics card fits into a narrow space next to the motherboard.
If the connectors are in place, the graphics card will fit into place without any difficulty. Now, you must press down the card firmly until you hear the PCIe slot clip close. This will create a tiny click sound.
Step 4: Attach the PSU connectors
The most recent graphics cards need more power than their predecessors did. It is frequently necessary to connect one or two connectors when installing a new graphics processing unit (GPU).
You can find these connectors coming off the power supply. Check for a click to confirm that all of the connectors are plugged in properly.
Step 5: Attach the monitors and boot the system
After everything is configured, turn on the computer and plug the graphics card into the monitors. Make sure everything is operating as it should.
Make sure your displays are connected to the graphics card and not the motherboard. You will only see a blank screen if the latter is true.
Step 6: Install the appropriate drivers
If your graphics card kit includes a driver installation disk, then you can insert it to start the procedure. If your card didn’t come with a disk, then you can download the drivers directly from your graphics card’s manufacturer’s website.
You can install the most recent version of the drivers available from the official website.
Whereas the drivers you get from CD are usually out-of-date by the time you buy them. You will therefore be asked to update those drivers when you install them. To update the drivers, adhere to the on-screen directions.
Conclusion
To conclude, installing a GPU is a simple process to follow. If you follow all the steps systematically, you may observe significant improvement in your gaming or working performance. We hope this guide helps you in the easiest way possible.