So, I saw this beautiful bag in a shop window last month. The price tag said £180. I nearly choked on my coffee. And then I thought, why am I spending that much when I could do it myself?
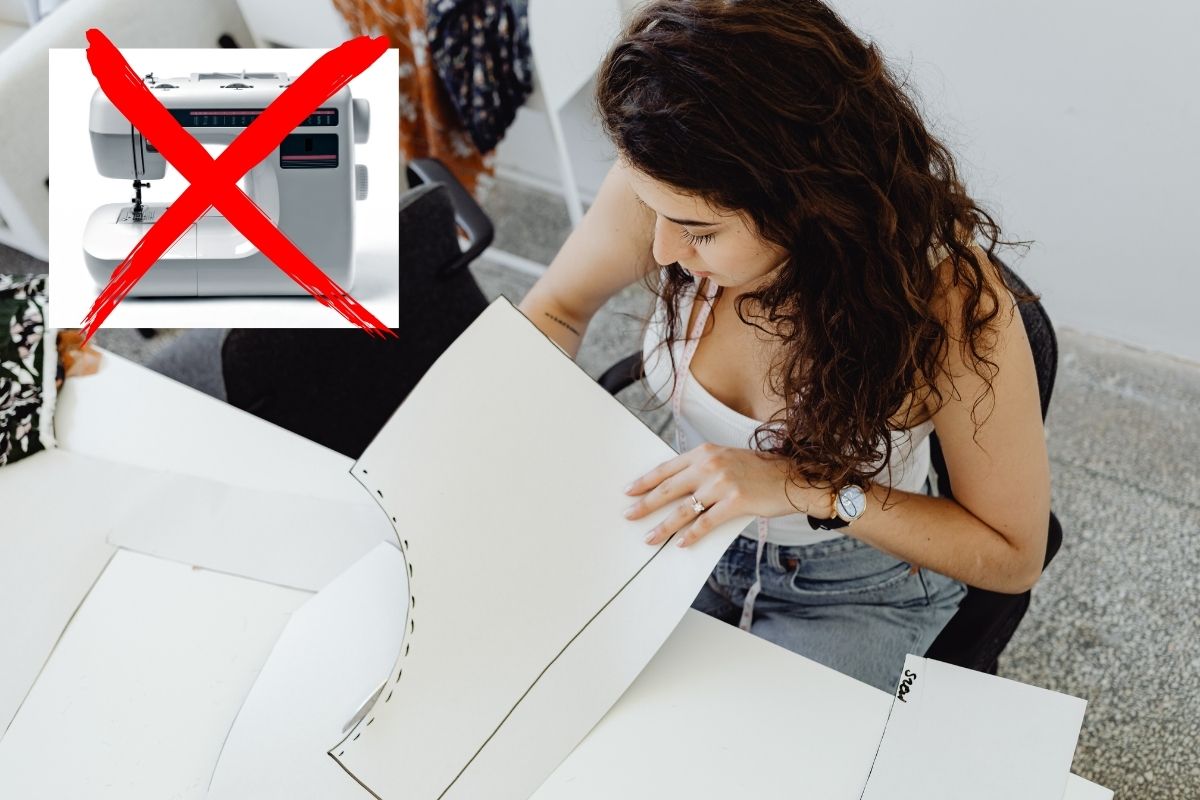
And it turns out that creating a DIY handbag is ridiculously easy. You don’t have to be some kind of crafting genius. You don’t even need a sewing machine for most projects. You just need some basic materials and an afternoon to spare.
What You Need to Get Started
Right, let’s discuss what you actually need. The list is shorter than you might think.
For fabric, canvas is great; it works a treat, as it is cheap and tough. You can also use faux leather, as it is very easy to work with. Cork fabric has become super popular over the past year or so because it’s waterproof. Old jeans are also nice if you want to recycle something.
You need fabric glue. Not that rubbish school glue. Buy the right thing, like E6000 or Unique Stitch. These kinds of things really do join stuff together permanently.
Handles are next. You can get these online for a fiver or so. Or nick them off an old bag you no longer use. Those bamboo handles are so pretty on tote bags.
Then you need some rivets or eyelets. These rivets or eyelets reinforce the holes where your handles connect. They are sold in packs at craft stores. Dead cheap.
Scissors, a ruler, and perhaps even a hole punch if you have one. That’s truly all that you need to begin.
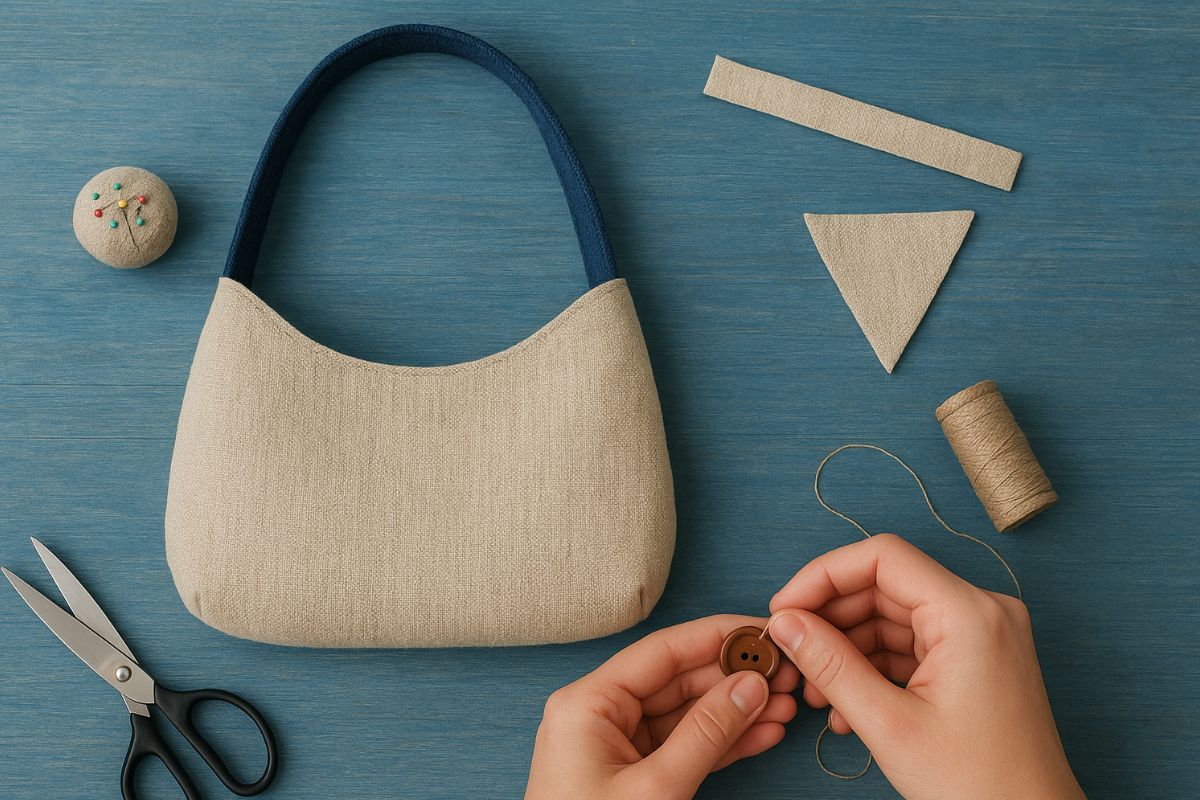
The Simplest Bag You Can Make Right Now
Let me show you how easy it is to sew a simple tote. This is so easy, I am almost embarrassed.
Get two pieces of fabric. Each rectangle should be roughly 40cm by 35cm, which is enough for a decent-sized bag.
Place them together with the pretty sides facing each other. Now, glue or sew with a sewing machine along three edges. Leave the top open, obviously. Flip it inside out so you get the nice fabric.
Fold the top edge down about 2 cm and glue it. This gives you a neat finish.
Punch a hole on each side of both top corners. Somewhere around 5 cm from the edge is good. Pop your rivets through to strengthen these holes.
Thread your handles through. Done. You’ve made a bag.
Seriously, that’s it. It probably took a little time for my first one, 45 minutes or so, because I kept second-guessing myself. Now I can throw one together in 20 minutes flat.
How to Make a No-Sew Bag
This is the method that blew my mind when I first saw it. You literally don’t sew anything.
Take a square piece of fabric. About 50cm by 50cm works nicely. Lay it flat like a diamond shape.
Put your stuff in the middle. Gather up two opposite corners and tie them together. Then tie the other two corners together. The knots become your handles.
Sounds weird, but it actually looks properly stylish. Japanese people have done this for centuries with their furoshiki wrapping cloths.
You can make it fancier by punching holes around the edges and threading ribbon through. Pull the ribbon tight like a drawstring. Attach proper handles to the ribbon. Now you’ve got a structured bag without sewing a single stitch.
A DIY handbag no-sew project is perfect when you want something quick or you don’t have a sewing machine at all.
Making an Easy Crossbody Bag
Crossbody bags are having a massive moment right now. They’re also dead easy to make.
Cut your main piece of fabric in a rectangle. About 25cm by 20cm makes a good small crossbody. Cut another piece the same size for the back.
Glue three sides together, leaving the top open. Let it dry properly. Rushing this bit is where people mess up.
For the flap, cut a piece about 15cm by 25cm. Round off one end so it looks nice. Glue this to the back piece at the top.
Add a magnetic snap for the closure. These stick on dead easily. One half goes on the flap, the other half goes on the front of the bag.
Get a long strap from Amazon or a craft shop. Attach it with rivets on both sides. Boom. You’ve got an easy DIY handbag that you can wear across your body.
My sister wanted one after seeing mine. Made hers in burgundy faux leather. She uses it constantly, and people always ask where she bought it.
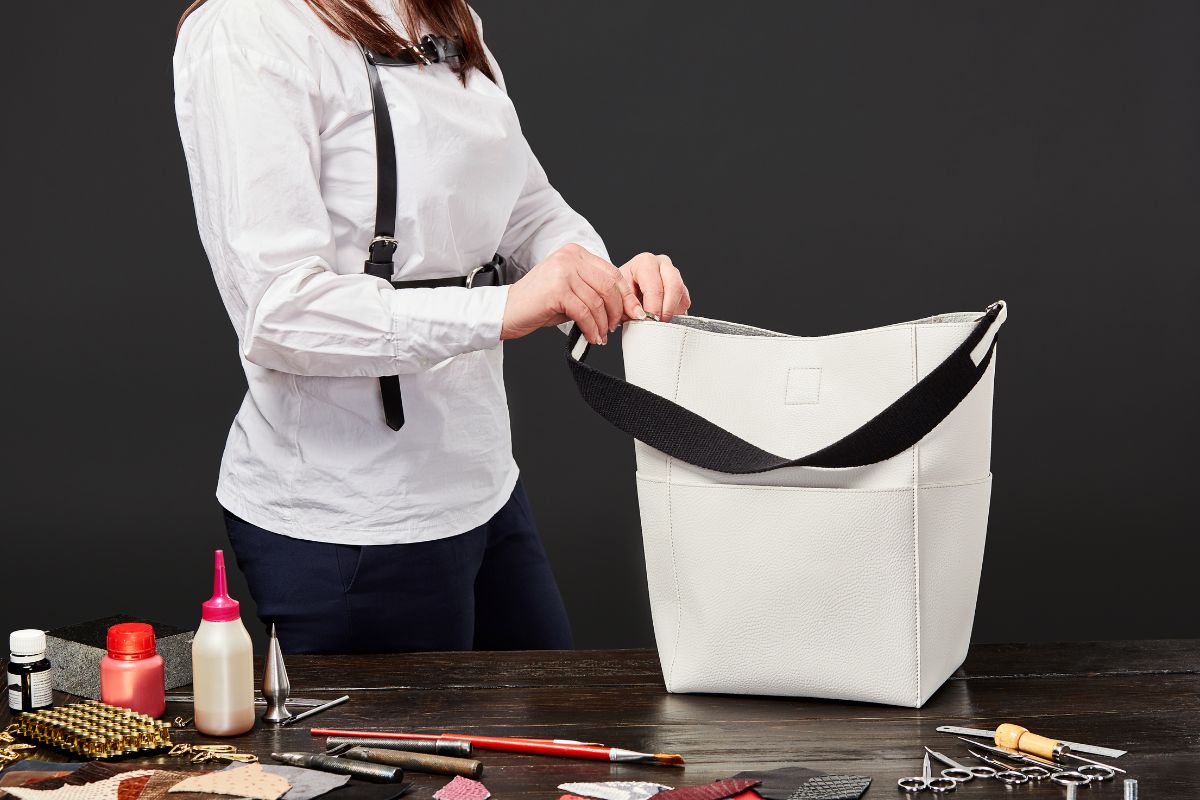
Making a DIY Handbag Without Sewing
The glue method works for basically any bag style. You just have to know the right adhesive to use.
For fabric bags, fabric glue like Aleene’s works perfectly. For faux leather or real leather, you want contact cement or leather glue. For cork fabric, regular strong craft glue does the job.
Here’s the trick, though. You have to let the glue dry properly. I mean properly. Don’t rush it. If instructions say 24 hours, wait 24 hours. I got impatient once, and my bag fell apart after two days.
Also, glue both surfaces. Put glue on piece A and piece B. Let them get tacky for a minute. Then press them together firmly. This creates a much stronger bond than just glueing one side.
Clamp things while they dry if you can. Or use heavy books. Clothespegs work brilliantly for holding edges together.
The bags I’ve made with glue have lasted ages. One tote is over a year old now and still going strong. The glue hasn’t failed once.
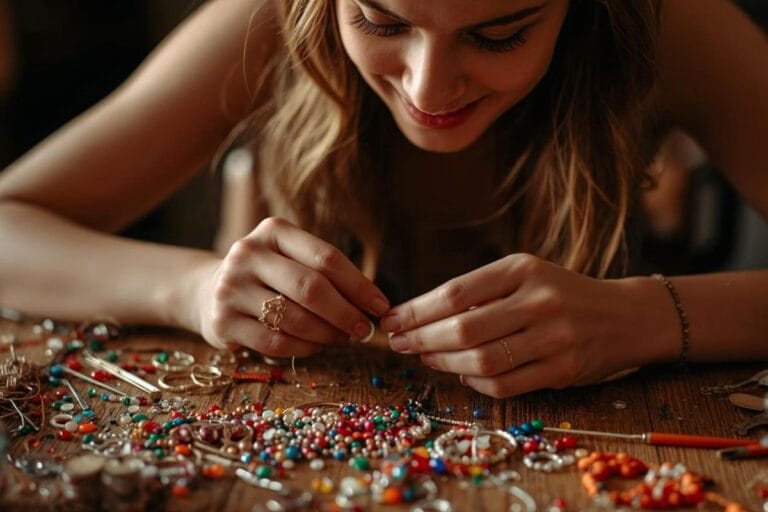
Adding Style with DIY Handbag Accessories
This is where you make your bag actually special. A plain bag is fine, but accessories make it yours.
Bag charms are massive right now. You can buy them or make them yourself with beads and keyrings. I’ve got this little tassel charm on mine made from embroidery thread. Took five minutes to make.
Scarves tied around handles look gorgeous. Changes the whole vibe of a bag. You can swap scarves to match different outfits.
Patches or embroidery add personality. Iron-on patches are foolproof. Stick them wherever you fancy. Band logos, funny sayings, flowers, whatever you like.
Pins and badges work on canvas bags. My canvas tote has about 15 enamel pins on it now. Started with two, kept adding more. It’s become a bit of a collection.
Studs give bags an edgy look. You can buy packs of studs that push through fabric. Arrange them in patterns or scatter them randomly.
Paint works too. Fabric paint on canvas bags lets you create custom designs. I painted little stars all over a tote once. Looked quite cute, actually.
Tips That Actually Help
- Use fabric clips instead of pins if you’re not sewing. They hold things in place without making holes.
- Mark where you’re putting handles before you commit. I stick masking tape where the handles will go and carry the bag around for a bit to check if the placement feels right.
- Start with dark colours. They hide mistakes better than light fabrics.
- Measure twice, cut once. Sounds obvious, but I’ve wasted fabric by cutting too quickly loads of times.
- Watch YouTube tutorials. Seeing someone actually do it helps way more than written instructions.
- Don’t buy loads of fancy supplies right away. Start basic. Add fancier tools later if you get really into it.
Where to Get Materials Cheap
Fabric shops, obviously, but also check charity shops. They often have fabric sections with stuff for pennies.
Old jeans make excellent bag material. That denim is already broken in and soft. Plus, you’re recycling. Curtain fabric from charity shops works brilliantly for bags. It’s designed to be tough.
Amazon has loads of hardware like handles, rivets, and magnetic snaps. Usually cheaper than craft shops.
Fabric markets in bigger cities sell materials way cheaper than regular shops. If you’re near one, definitely check it out.
Just Start Making Something
Look, you can read about making bags forever. Or you can just have a go.
Pick the simplest project. Get the basic materials. Set aside a Saturday afternoon. Make the thing.
It might turn out great. It might be a bit rubbish. Either way, you’ll learn something.
I thought about making bags for months before actually doing it. Wish I’d started sooner. The first one wasn’t amazing, but I learned loads. Now I make bags fairly regularly, and I’m chuffed with how they turn out.
You don’t need perfect conditions or ideal circumstances. You need fabric, glue, and handles. That’s genuinely all it takes.
The fashion industry wants you to buy their stuff constantly. But you can make perfectly good bags at home for a fraction of the price. They’ll be unique, they’ll fit your needs exactly, and you’ll get to say, “Thanks, I made it myself,” when people compliment them.
That never stops feeling good.
So yeah, stop thinking about it. Go make a bag. Right now. Today. This weekend. Whenever. Just do it. You’ll be glad you did.