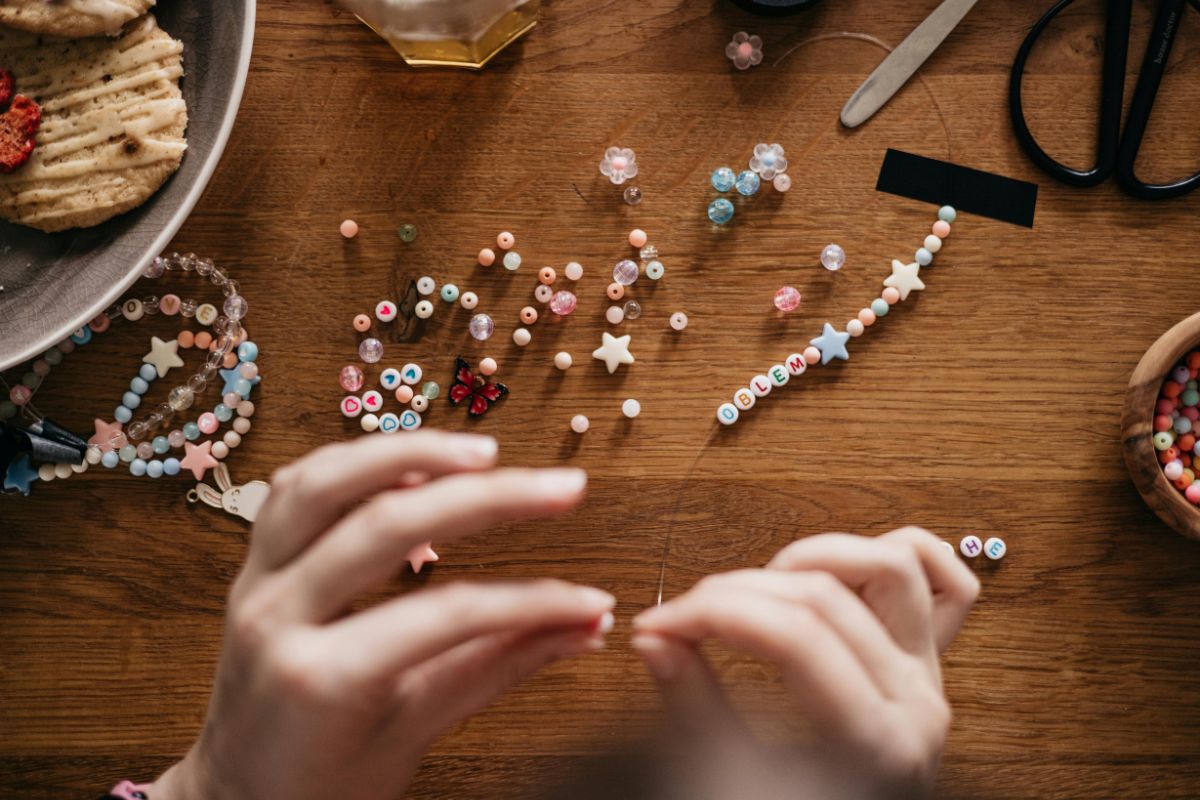
Sophie slammed home Tuesday screaming about some bracelet her friend had made. Wouldn’t shut up about it through dinner. “Mum, can I get one of those kits? Please?”
Right, I thought. How hard can it be?
Long story short, quite a learning curve. But we’ve had some laughs on this fantastic journey.
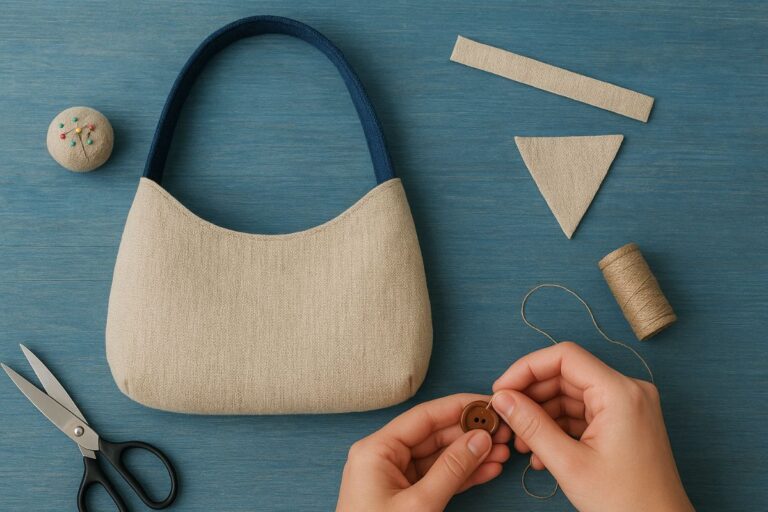
The Kit That Started Everything
I found this DIY jewellery-making kit from Hobbycraft on Saturday morning. That only set me back thirty-two quid, which some might say is a bit much until they see what’s inside. Hundreds of beads, wires, and tiny metal bits whose names I didn’t know. Sophie’s eyes went massive.
“Can we start now?” she said before we were out of the car park.
Also Read – Creating a DIY Macrame Wall Hanging
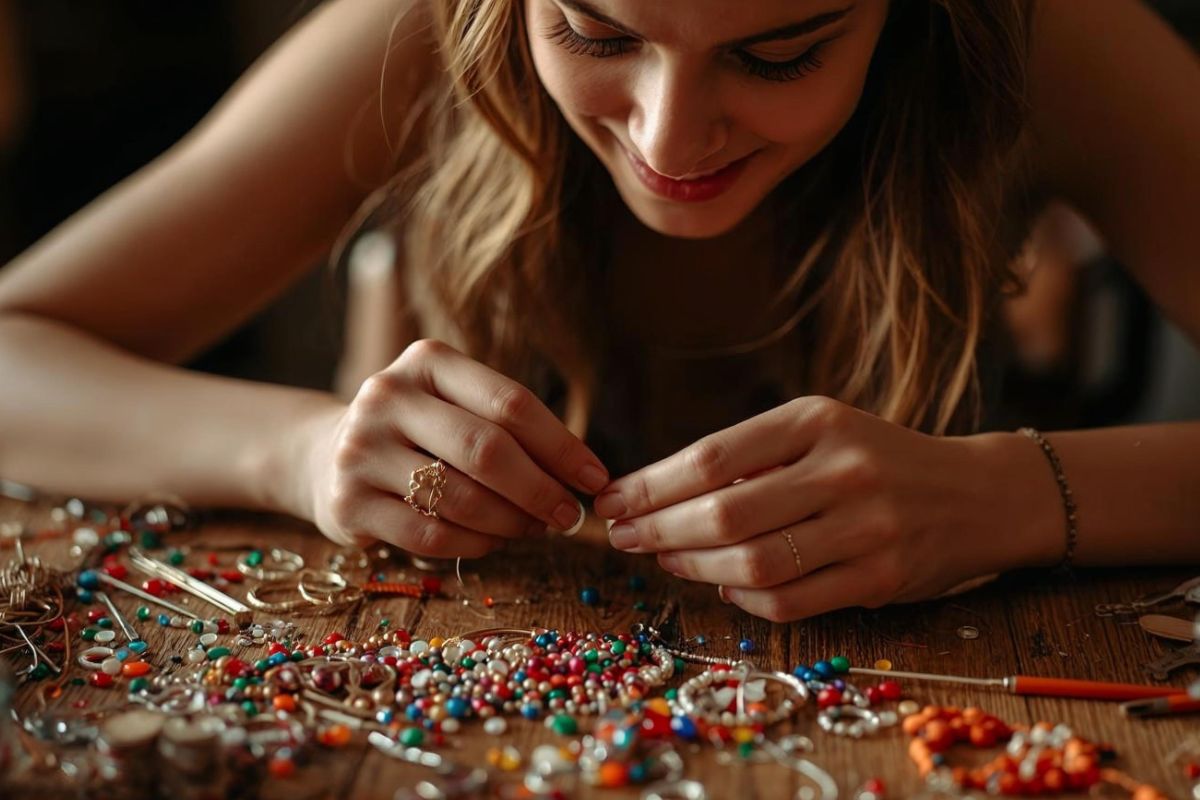
First Attempts Were Rubbish
Our original bracelet resembled a drunk person’s botched effort. Beads, everywhere except where they belong. The elastic snapped twice. Sophie got frustrated. I got frustrated. We nearly packed it all away.
But then my neighbour Jan dropped in for a coffee. She took one look at our disaster and laughed. “You’re doing it all wrong, love.”
Jan used to run jewellery workshops. Twenty minutes with her and we actually had something wearable.
What Works and What Doesn’t
Cheap elastic is your enemy. Learned that when Sophie’s first “masterpiece” went flying across the kitchen floor. The better kits include proper beading wire or stronger cord.
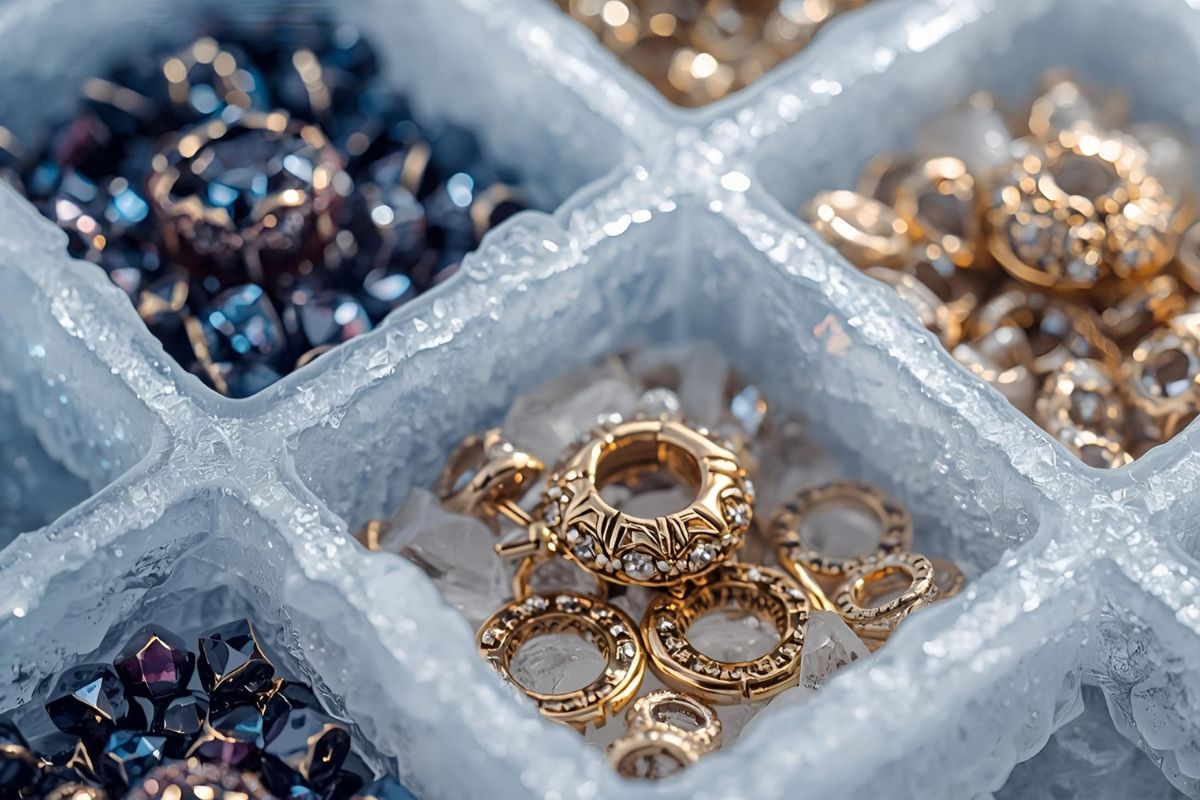
Storage matters too. Our beads were all jumbled up into one big mess, which was a nightmare to sort out. Now we use ice cube trays. Works a treat.
The polymer clay pieces are pretty cool, though. Whack them in the oven for 15 minutes and you’ve got real little gems. Sophie made a tiny pizza slice that looks spot-on.
Age Thing Matters
Sophie is nine and does OK with her bits. And her 6-year-old cousin had a hard time handling the smaller beads but enjoyed the chunky type. Some kits are certainly suitable for older kids.
When it comes to the instruction booklets, it’s hit and miss; some explain everything clearly. Others might as well be written in ancient Greek. We’ve learned to check online tutorials when we get stuck.
Trends I’ve Noticed
Went to a craft fair last month and saw loads of clay jewellery. Everyone’s making little food charms and animals. Sophie’s obsessed with making tiny donuts now.
Wire wrapping is another thing that’s caught on. Looks fancy but isn’t too tricky once you get the hang of it. Makes your pieces look more grown-up.
My Honest Take
Some evenings after work, I find myself reaching for the bead box instead of my phone. There’s something calming about threading beads and watching patterns form. Better than scrolling through social media, that’s for sure.
Sophie’s confidence has shot up too. She gives away bracelets to anyone who’ll take them. Her teacher now has about five on her wrist.
Money Side of Things
That initial DIY jewellery making kit has kept us busy for months. We’ve made gifts for birthdays, teacher presents, and random Tuesday afternoon projects. Probably saved me fifty quid on shop-bought stuff.
Some kits are overpriced rubbish, though. Stick to known brands. The pound shop versions we tried once were terrible, as they had beads that broke if you looked at them wrong.
Also Read – Create a Walk-In Closet Like a Star
Unexpected Benefits
Sophie’s maths has improved. She counts beads, works out patterns, and measures cord lengths. It’s not planned, but I’ll take it.
We chat properly when we’re making things. There are no tablets, no TV, just us talking. Found out loads about what’s happening at school I never knew before.
Mistakes We Made
Bought too many similar colours early on. Everything ended up looking the same. Now we deliberately pick contrasting bits.
We started too ambitiously. Our first project was meant to be this elaborate necklace we saw online. Total disaster. Simple bracelets work better for beginners.
Never underestimate how long threading tiny beads takes. What looks like a five-minute job can easily stretch to an hour.
What I’d Tell Other Parents
Don’t expect perfection straight away. First attempts will look rough. Kids don’t care, though, as they’re just chuffed they made something themselves.
Buy decent tools. Proper pliers make a massive difference. So do good scissors for cutting cord.
Let them make mistakes. Sophie’s wonky colour combinations often turn out better than my carefully planned ones.
The Addictive Bit
Started with one kit. Now we’ve got three storage boxes full of supplies. It creeps up on you. Sophie’s already planning Christmas presents for everyone.
My sister borrowed our kit for a weekend and ended up buying her own. It spreads.
When Things Go Wrong
Sometimes beads roll under the sofa and stay there for weeks. The cat knocked over our sorting tray once and beads scattered everywhere like confetti. Sophie cried, I swore (quietly), and we spent an hour on hands and knees picking up tiny bits. Now we always work away from pet areas and keep lids on everything.
Final Thoughts
Best thirty-two quid I’ve spent this year. Sophie’s happy, I’ve got a new hobby, and our kitchen table has become craft central most evenings.
Fair warning though; those tiny beads get absolutely everywhere. I’m still finding them in odd places weeks later.