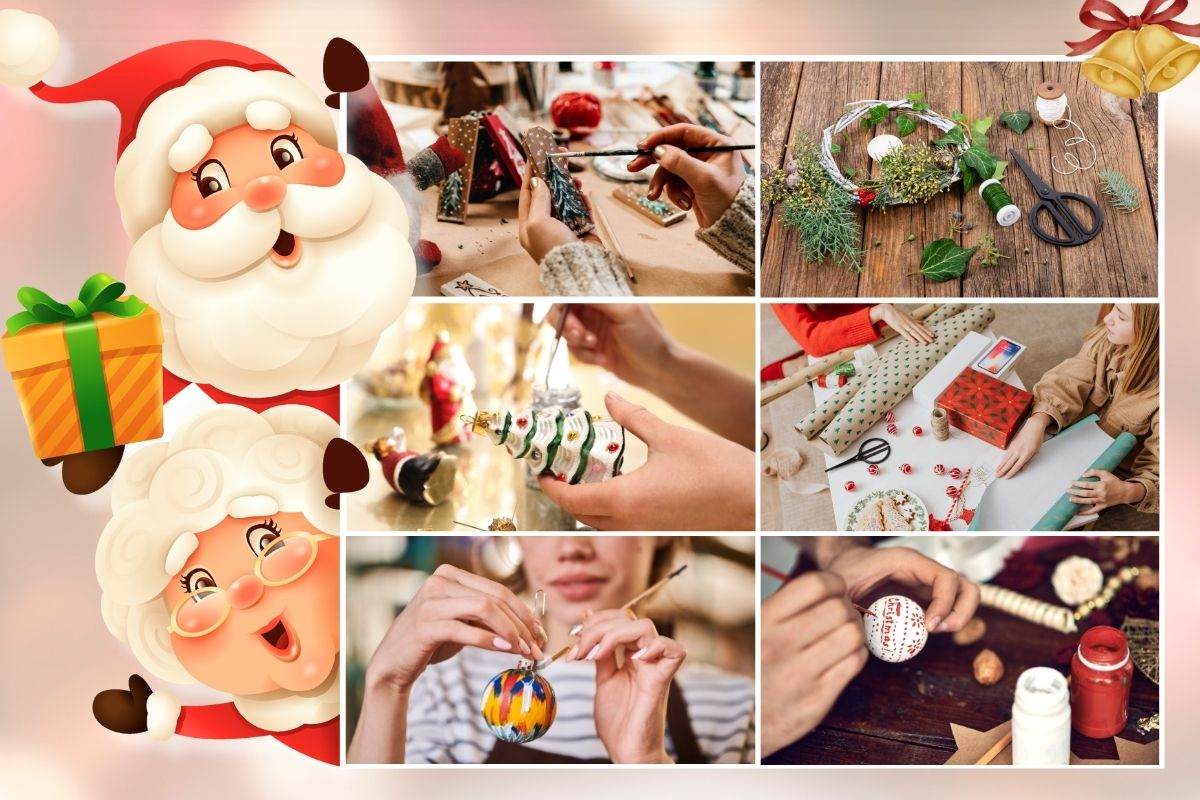
How to DIY Christmas ornaments without spending a fortune or ending up in A&E? It’s actually dead simple. Salt dough, yarn, dried oranges, felt scraps. That’s all you need, really. No fancy craft shop haul required.
Here’s the thing about 2025 Christmas trends. Everyone’s gone proper nostalgic. Handmade stuff is massive this year. Think vintage vibes, natural materials, things your gran would’ve made in the 70s. Store-bought baubles are lovely, but they’re also a bit soulless, aren’t they? When you make your own, you get decorations that actually mean something. Plus, the kids get involved, and you’ve got a whole afternoon sorted.
Salt Dough Ornaments Are Foolproof
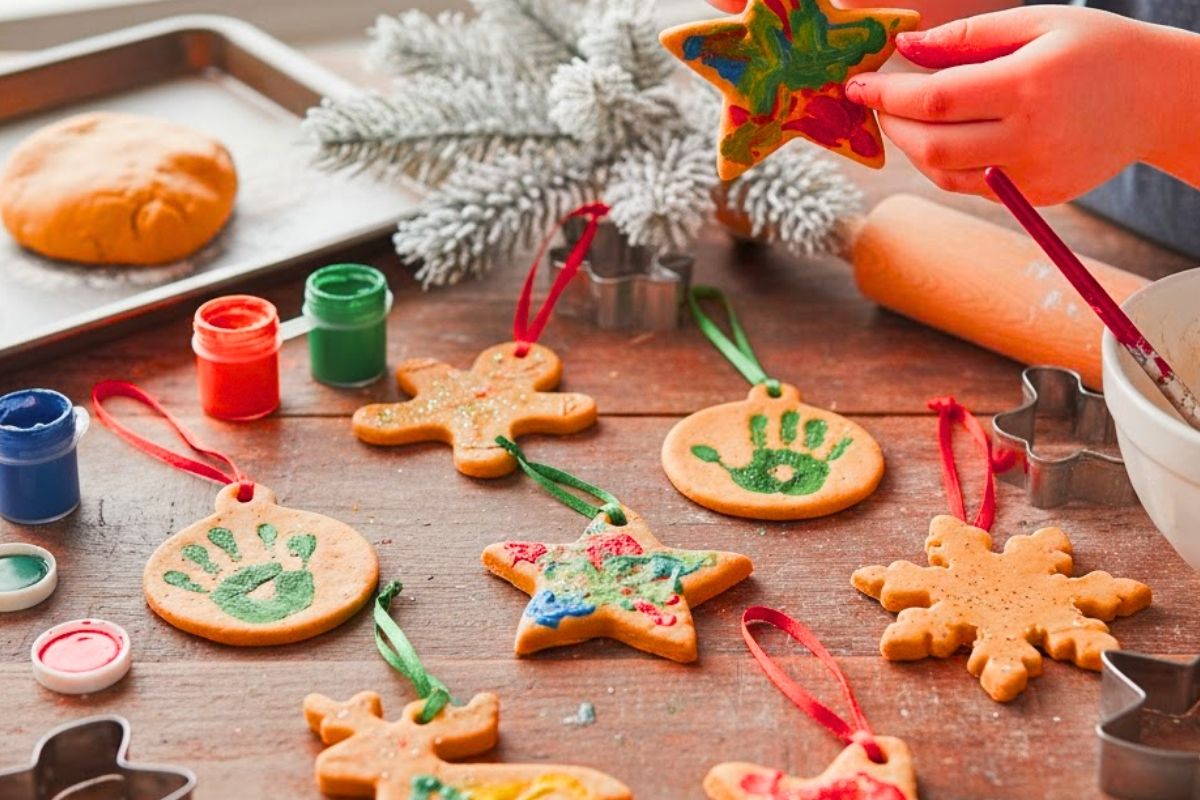
This is where you start if you’ve never made Christmas ornaments before. Salt dough‘s brilliant because even toddlers can’t mess it up. Combine the same amounts of flour and salt, then add half as much water. Knead it until it’s smooth. Roll out to about a half-centimetre thickness. Make shapes with cookie cutters.
Poke a hole in the top with a straw before they harden. That’s for the ribbon later. Bake them in the oven at 100 degrees Celsius for approximately 2 – 3 hours until they are hard. Once they’re cool, paint them whatever colours you fancy. Seal it with clear varnish if you want them to last for years.
Kids love painting these. They are not going to look perfect, and they’re not supposed to. Those wonky handprints and messy designs are the ones you’ll cherish when they’re teenagers and too cool to do crafts with the family.
Also Read – Making Your Own Handbag at Home
Dried Orange Slices Look Proper Posh
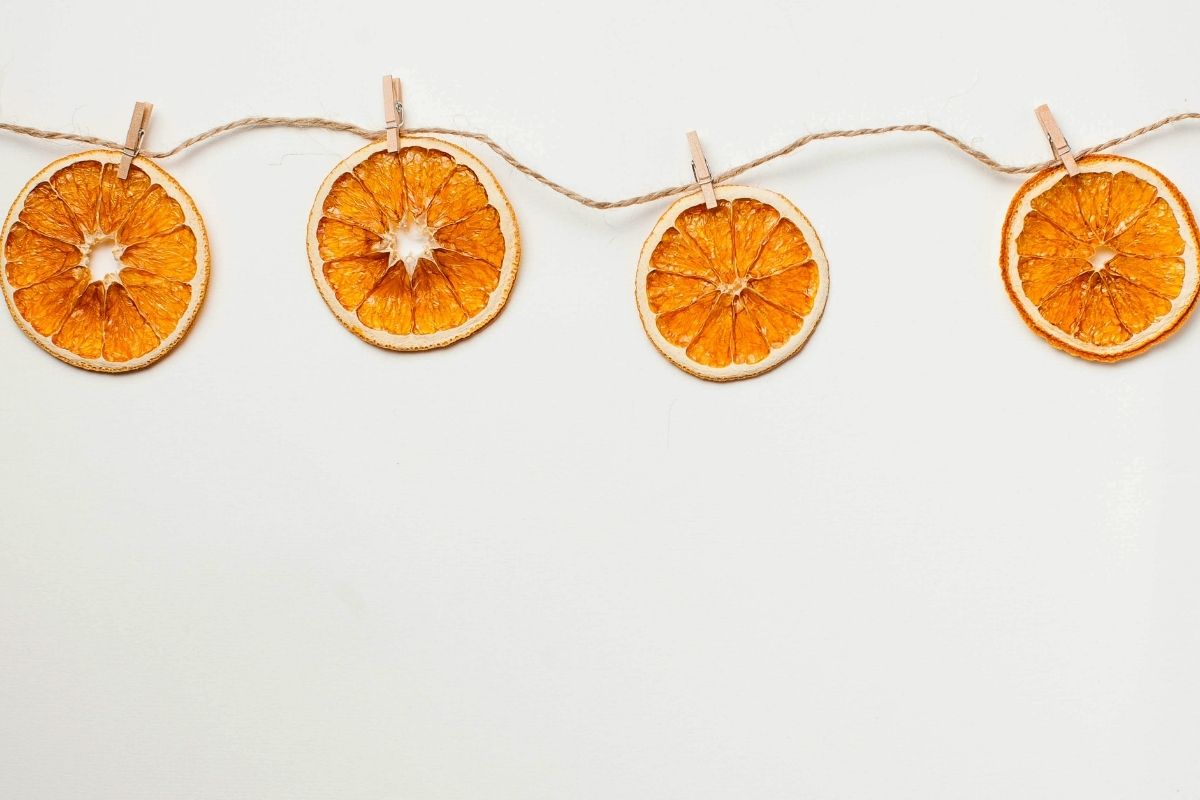
Dried oranges are everywhere in the 2025 Christmas trends. They’re part of the whole natural, sustainable vibe that’s massive right now. Slice the oranges about half a centimetre thick. Pat them dry with a kitchen roll. Lay them on baking paper.
Bake at 80 to 100 degrees Celsius for 3 to 4 hours. Turn them every hour or so. They’re done when they’re completely dry and not sticky. Thread ribbon or twine through to hang them.
They smell gorgeous, too. Proper Christmassy without needing those fake cinnamon candles. String several together to make a garland or hang them individually on the tree. They work with any colour scheme because they’re natural.
Yarn Wrapped Anything
Have some leftover yarn from your nan’s knitting basket? Brilliant. You can twine it around just about anything and call it a decoration. Simple DIY Christmas ornaments don’t get easier than this.
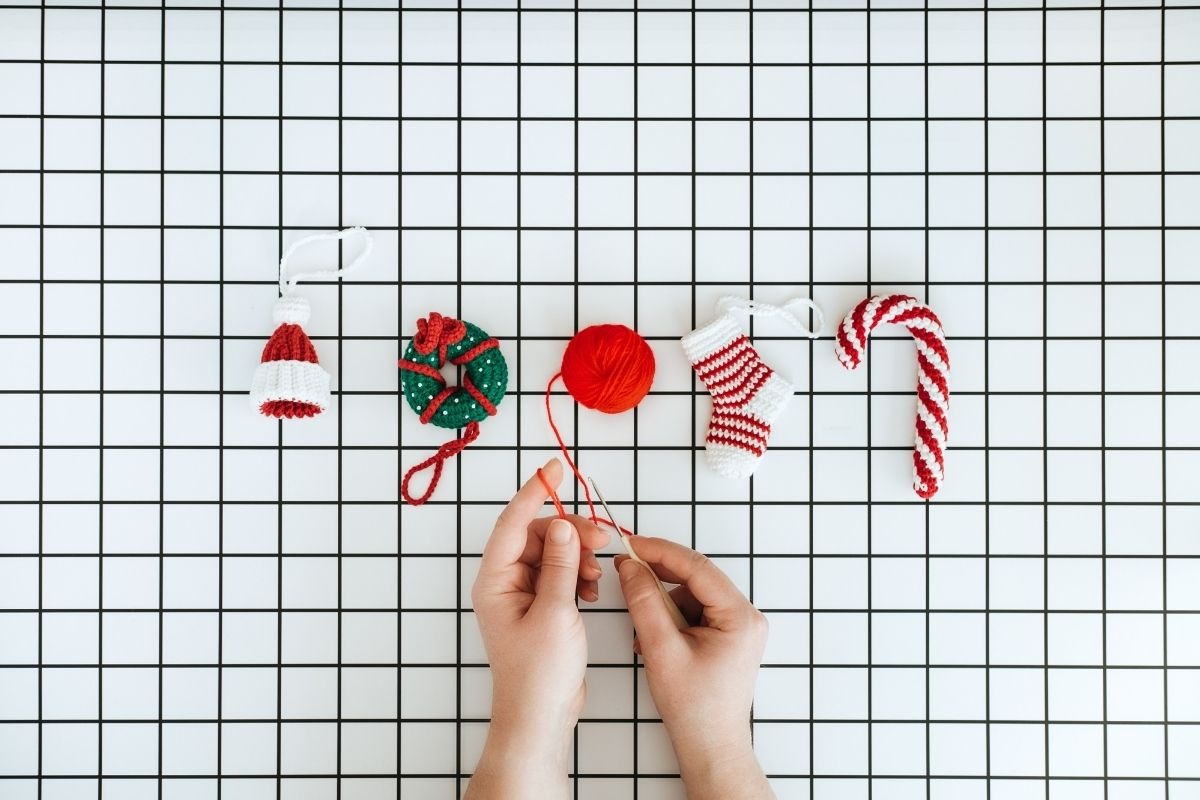
And foam balls from the pound shop work great. Wrap the yarn around them entirely until they are completely covered. You can also add a dab of glue at the beginning and ends to keep it in place. Tie a ribbon loop at the top for hanging.
Cardboard cutout stars wrapped in yarn are pretty, too. Cut stars out of cereal boxes. Wrap them in yarn and secure with glue near the points. Takes about 10 minutes each. Kids can choose any colours they fancy, so you’re left with a proper rainbow tree if that’s your thing.
Also Read – My DIY Crop Top Obsession
How to DIY Christmas Ornaments for Kids That Won’t Break
When you’ve got little ones running about, glass baubles are a nightmare waiting to happen. Make unique handmade Christmas ornaments from felt instead. Felt doesn’t break. Ever. You could chuck it at the wall, and it’d be fine.
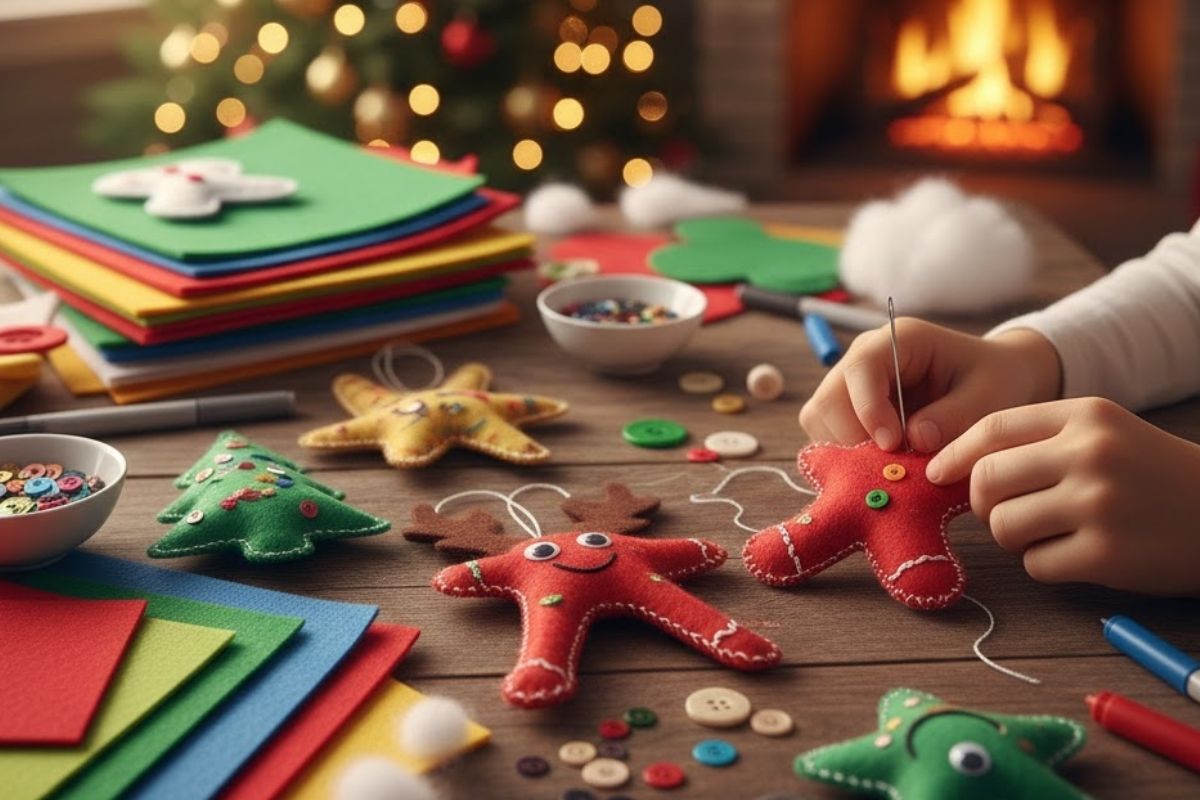
Cut simple shapes like stars, trees, stockings, and gingerbread men. Two pieces per ornament. Stuff a tiny bit of cotton wool between them and stitch around the edges. Even rubbish sewing looks charming on felt ornaments.
Let kids decorate them with fabric pens, sequins, buttons, whatever. The messier the better. These become the ones you keep forever because they’re utterly unique. Nobody else has a wonky felt reindeer with three legs and googly eyes in the wrong place.
DIY Christmas Ornaments Kits: If You Need Hand-Holding
Not crafty at all? Fair enough. DIY Christmas ornaments kits take the guesswork out. You get everything in the box with proper instructions. Hobbycraft, Amazon, and The Range all sell them. Price varies from a fiver to twenty quid, depending on how fancy you want it.
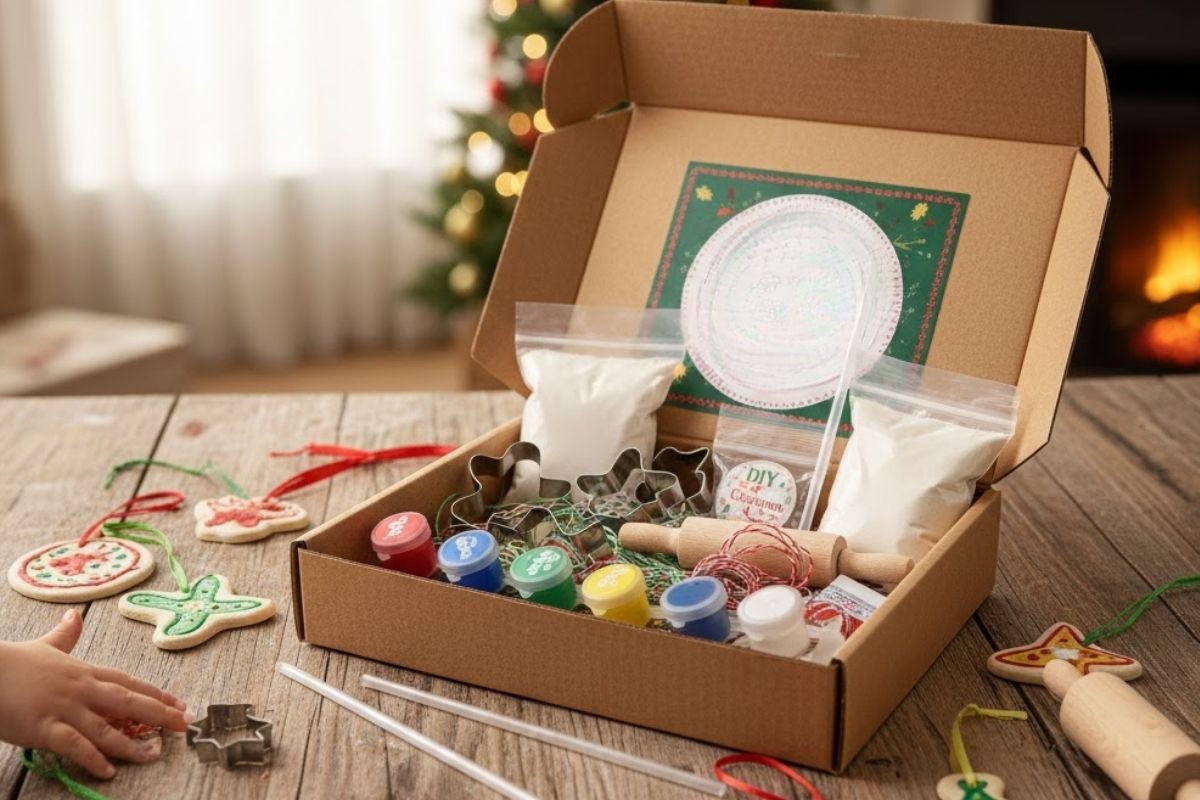
Wood slice painting kits are popular this year. You get pre-cut wood rounds, paints, and brushes. Just paint winter scenes or patterns. Seal them and add ribbon. Done. Looks like you’ve spent hours on them when it took 20 minutes.
Foam ornament kits are good for younger kids. Everything’s pre-cut; they just stick bits together and decorate. No sharp tools, no stress, no mess, you’ll be cleaning until February.
Scrabble Tile Ornaments Are Weirdly Satisfying
Got old Scrabble tiles nobody uses anymore? Glue them onto ribbon to spell names, dates, or Christmas words. Thread ribbon through the top. Takes five minutes per ornament. Looks proper cute.

You can find cheap Scrabble games at charity shops if you don’t have one at home. Each game gives you enough tiles for loads of ornaments. Perfect for teachers who need 30 gifts for their class without spending their whole salary.
Also Read – DIY Jewellery Making Kit
How to DIY Christmas Ornaments Easily With Things You Already Own
Check your recycling bin before you start buying craft supplies. Cardboard tubes from kitchen roll make brilliant mini Christmas crackers. Wrap them in wrapping paper, tie the ends with ribbon, and decorate with stickers or drawings.
Old Christmas cards? Cut shapes from them to make layered ornaments. Glue several cutouts together for a 3D effect. Punch a hole, add ribbon, sorted.
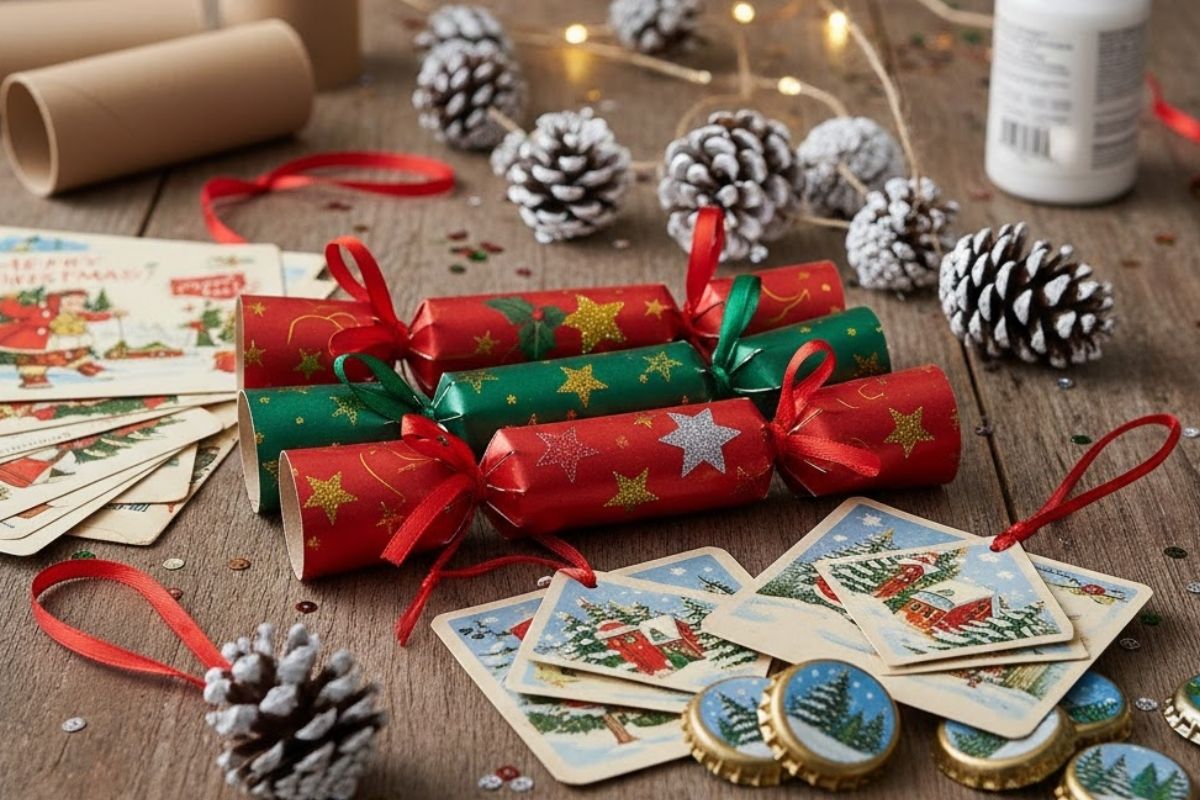
Bottle caps painted gold or silver with a winter scene drawn on top look surprisingly good. Pine cones collected from the park, painted white, look like snow-covered trees. String them together for a garland or hang them individually.
Wood Slice Ornaments If You’re Feeling Fancy
If you know someone with a saw, get them to slice tree branches into rounds about half a centimetre thick. Sand the edges so nobody gets splinters. Now you’ve got proper rustic ornaments.
Wood-burning tools create gorgeous patterns. You can get them for about fifteen quid. Burn snowflakes, names, dates, and simple designs. Takes practice, but looks brilliant once you get the hang of it. Don’t have a wood burner? Just paint designs with acrylics.
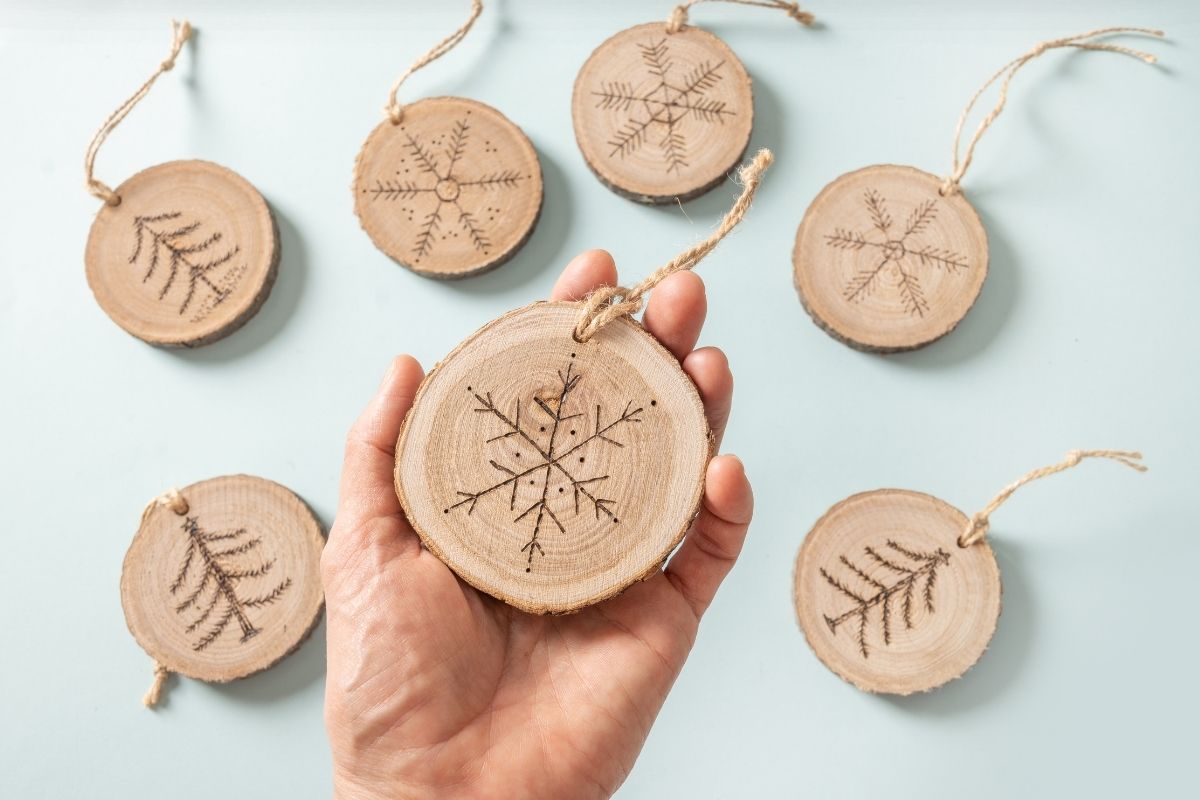
Drill a small hole near the top for ribbon. Seal with varnish or leave them natural. These fit perfectly with the woodland Christmas trend that’s massive this year, all about nature, sustainability, and earthy tones.
Pasta Ornaments Because Why Not
Kids love painting pasta. Grab some tube pasta, bowties, wheels, whatever’s in the cupboard. Paint them with acrylics or poster paints. Gold and silver look particularly good. Glue them together into wreaths, stars, snowflakes.

Yeah, they’re a bit naff. But in a charming way. Like those macaroni necklaces you made at school that your mum kept forever. Sometimes naff is exactly what Christmas needs.
The Actual Stuff You Need
Most how-to DIY Christmas ornament projects use the same basic supplies. Grab these, and you’re sorted for dozens of ornaments.
Hot glue gun. Proper game changer. Glues anything to anything in seconds. Get one from B&M for about five quid. Acrylic paints in basic colours. Ribbon in different widths. Twine or string. Clear varnish or Mod Podge for sealing. Cookie cutters if you’re doing salt dough. Sharp scissors.
That’s honestly it. Everything else depends on which specific projects you want to try. Raid the recycling, check the garden for natural bits, see what’s in the craft drawer. Half the fun is making do with what you’ve got.
Why Bother Making Your Own
Shop-bought decorations are easier. Nobody’s arguing that. But there really is something special to decorate a tree with things you made yourself. That wonky star your daughter made when she was four. The salt dough handprint from your son’s first Christmas. The dried orange from the year you actually got organised early.
Plus, making ornaments is a brilliant way to spend time together without screens. Slap some Christmas music on, create a monster mess, giggle over the flops, and toast the successes. That’s the stuff Christmas memories are made of, don’t you think? Not perfect Instagram-worthy trees, but genuine time together covered in glue and glitter.
How to DIY Christmas ornaments comes down to just giving it a go, really. Choose something easy, grab a few supplies, and see what happens. Worst-case scenario, it is rubbish, and you learn what not to do next time. Best case? You’ve made something lovely that’ll hang on your tree for years. Either way, you’ve spent an afternoon doing something that isn’t staring at your phone. That’s worth something in 2025.