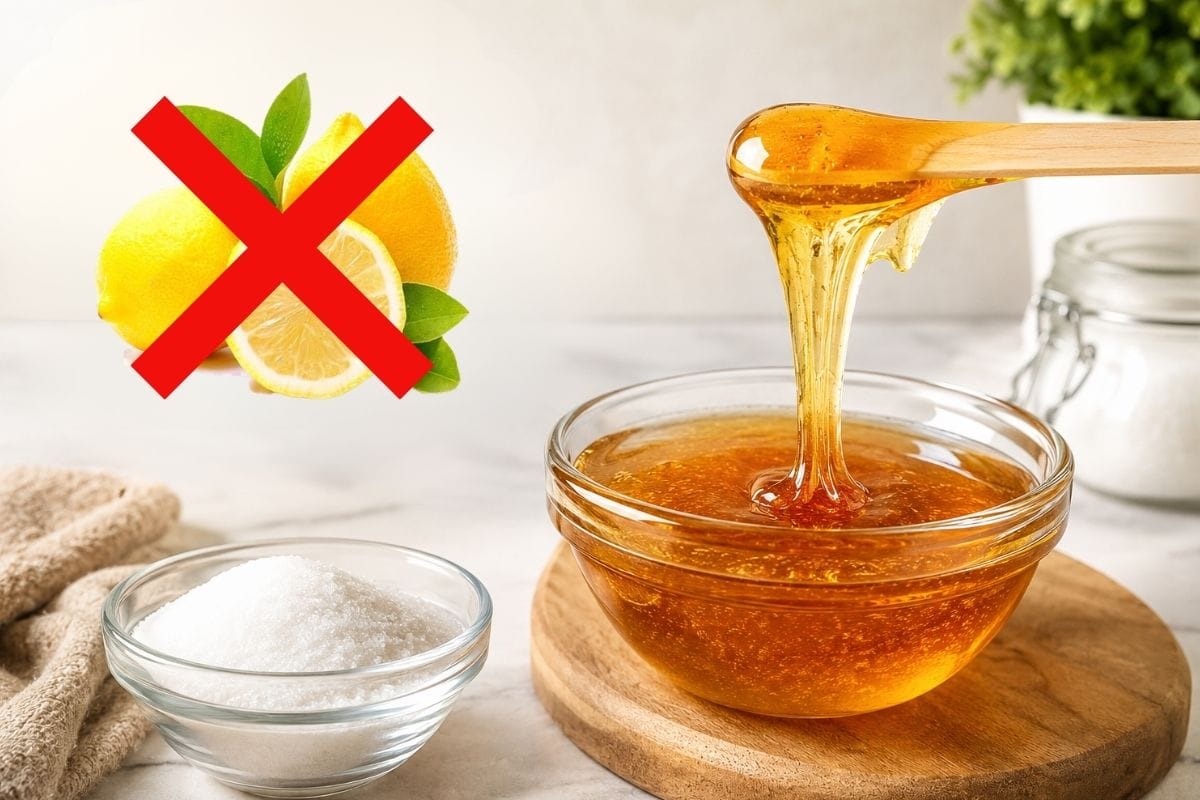
Making your own sugar wax without adding lemon to it is a very simple, cheap, and even effective process. By replacing lemon juice with apple cider vinegar or white vinegar, you can make a smooth, flexible sugar wax using just three simple kitchen ingredients.
You can make homemade sugar wax without lemon using 1 cup sugar, 2 tablespoons of water, and 2 tablespoons apple cider vinegar or white vinegar. Heat the mixture until it reaches a golden amber colour (about 240°F/115°C), let it cool until warm, and apply it against the direction of hair growth before removing it in the direction of hair growth.
In this article, we are going to learn how to make homemade sugar wax without lemon in a detailed way. This will be easy for those people who have sensitive skin, as this will not cause any kind of itching, rashes, or strawberry marks on your skin.
- Vinegar Takes the Place of Lemon Acid: It keeps sugar granules apart so that you get a smooth, elastic, and lemonless wax.
- Be Careful About Heat: Use moderate heat so as not to burn sugar or to have it too thin.
- Let the Wax Cool Down First: You need around 20 minutes of waiting to ensure that the paste will be warm and comfortable to use.
- Prepare Your Skin: Wash your body gently to remove oil, sweat, or lotion from the body. Then put a little cornstarch to make it easier for the wax to stick to hair.
- Apply in Opposite Direction, Pull In The Same: Put it on opposite hair growth and then peel it off in the same way.
Why Make Sugar Wax Without Lemon?
Ingredients for making sugar wax traditionally involve the use of fresh lemon juice to break down the sugar molecules. But what if there are no lemons in your house when you want to wax?
However, what is more important is that citric acid and the presence of oils in the fruit can also damage delicate facial skin. Lemon juice for this purpose cannot be used; apply some apple cider vinegar to do so because its chemical action is identical to that of lemon, but on sensitive skin it will not do so much harm.
Also Read – How to Style a Cowgirl Outfit?
Ingredients & Kitchen Tools Needed
To prepare your sugar wax recipe, take these basic items from your kitchen:
- 1 cup granulated white sugar (table sugar is recommended)
- 2 tablespoons apple cider vinegar (distilled vinegar can also be used)
- 2 tablespoons water
- Saucepan or pot
- Wooden spoon or spatula
- Glass jar or container to store the mixture
Step-by-Step Instructions: How to Make Sugar Wax Without Lemon
Step 1: Mix the Ingredients
First, mix all 3 of the ingredients together, then start heating it up. Because you don’t want to end up with sugary crystals, which just end up sticking to your surface as it’s dry and burning.
- Measure ingredients carefully: Take 1 cup white sugar, 2 tablespoons water, and 2 tablespoons apple cider vinegar.
- Use the correct equipment: Add all these directly into a clean small pan.
- Stir before heating: Stir using a wooden spoon or spatula before heating all the ingredients.
- Moisten the sugar: Ensure that the liquid is able to moisten all sugar granules to allow melting.
- Examine any dry sugar: Check that there is no dry sugar left on the sides of the pan.
Step 2: Heat on Medium-Low
The right amount of heat on low and medium helps you melt all the crystals without burning them, while the correct watching the flame does result in liquid, not burnt matter.
- Set the burner: Place your saucepan over medium or low heat to start melting things down gently.
- Stir steadily: Keep your spoon moving along the bottom so the sugar doesn’t burn.
- Watch for dissolving: You’ll see the grainy mixture turn into a thick, clear, bubbly liquid.
- Wait for a gentle boil: Let it build up to a steady, light boil across the surface.
- Ease off stirring: Once it’s boiling nicely, stop stirring constantly so the heat stays trapped inside.
Step 3: Watch for the Golden Amber Colour
This crucial phase makes it possible for the acid to break down the sucrose and turn the regular sugar syrup into soft wax. The colour should be carefully monitored to avoid the candy being overcooked and turning hard.
- Gentle simmering: Cook the pan gently on a low heat source without touching it.
- Swirling: Swirl the pan gently by turning it after every 1 or 2 minutes to ensure even heat distribution.
- Colour change observation: Watch the liquid change colour from clear to light yellow and then to golden amber.
- Timing: The process will take about 6 to 10 minutes from the moment the colour changes occur after boiling.
- Temperature setting: If there is a candy thermometer, set the temperature to 240 degrees F (115 degrees C).
Step 4: Test the Texture in Cold Water
Testing the hot syrup in ice water removes all the guesswork from sugaring. It tells you instantly whether the wax has reached the ideal soft-ball stage needed to grip body hair effectively.
- Take cold water: Keep a small bowl filled with ice-cold water sitting nearby your stove.
- Drop a bit of syrup: Add a spoonful of hot liquid and drop it into the cold water.
- Wait five seconds: Let the syrup settle up and cool down in the water for some time before touching it.
- Roll with fingers: Reach in and roll that cooled drop between your thumb and index finger.
- Look for a soft ball: Turn off the stove right away if it rolls into a squishy, flexible ball.
- Cook longer if it is runny: If it just dissolves in the water, cook for an additional 60 seconds and check again.
Also Read – Create a Walk-In Closet Like a Star
Step 5: Cool Down Safely Before Use
Hot sugar syrup holds high heat and can easily burn your skin if applied too quickly. Letting the wax cool down turns it into a safe, comfortable paste ready for easy hair removal.
- Remove from burner: Take the pot off the heat the second your cold water test checks out.
- Pour into glass: Carefully pour that hot syrup into a heat-safe glass jar or container.
- Leave untouched: Let the open jar sit out at room temperature for 20 to 30 minutes.
- Test temperature carefully: Lightly touch the outside glass or gently tap the top layer with a finger.
- Confirm warm feel: Make sure it feels warm and easy to squish—never hot—before putting it anywhere on skin.
How to Apply DIY Sugar Wax Correctly
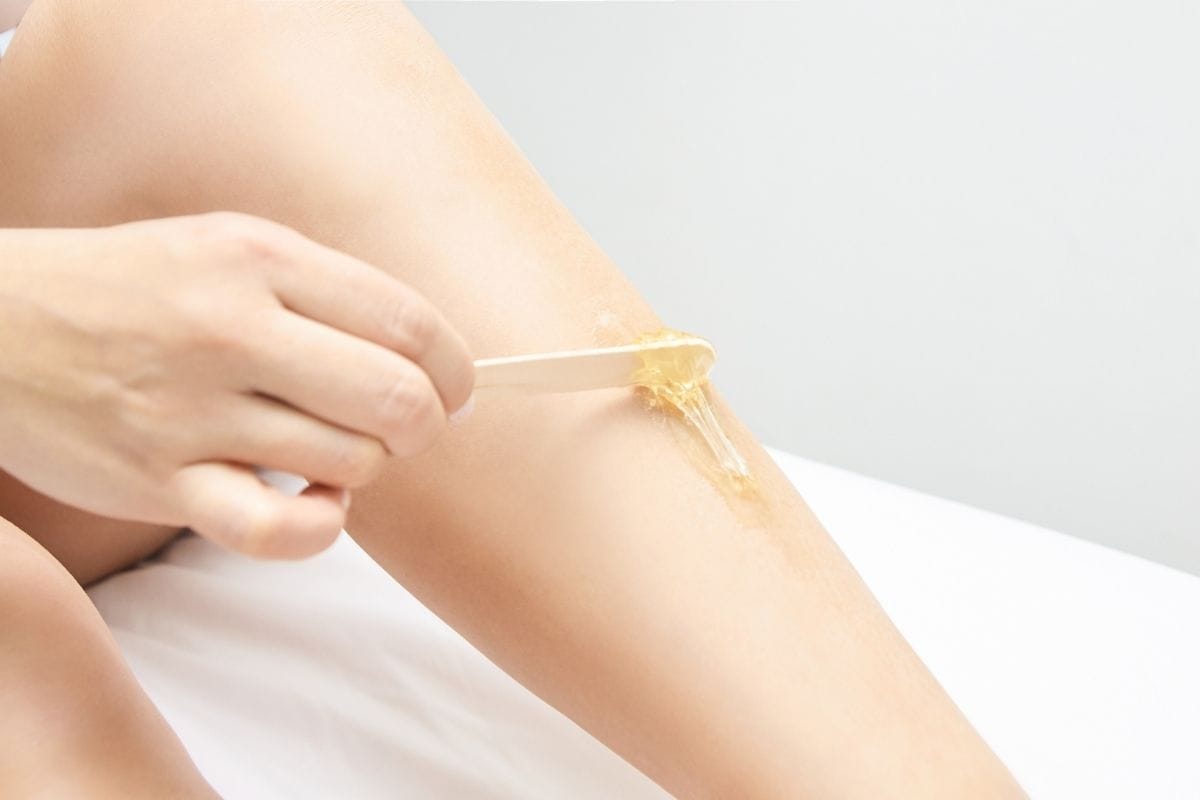
Applying sugar wax properly on your body makes the hair removal process simple. These easy steps help the wax to hold hair from its root while protecting your skin from irritation or to have the strawberry skin.
Step 1: Clean Your Skin
Sweat, oil, and lotions keep wax from sticking to your hair. Starting with fresh, dry skin gives you the best grip.
- Wash the area using warm water and gentle soap to remove any oils from the surface.
- Dry yourself thoroughly to ensure there is no moisture remaining on the skin.
- Add a small amount of cornstarch directly onto the skin area.
- Work on rubbing the powder into the skin to absorb any oils missed.
- Avoid the use of lotions and oils before applying the product.
Step 2: Knead the Wax
Kneading warms up the sugar and makes it soft. This step turns the firm paste into a stretchy ball that is easy to control.
- Take a small quantity of the wax that is equal to the size of a walnut and feel warm.
- Allow the wax to rest on your fingers without pressing it on your palms.
- Rub the wax between your fingers back and forth a couple of times.
- You can stop rubbing when you see the colour become light and slightly cloudy.
- Check that the ball feels soft, stretchy, and simple to press down.
Step 3: Spread Against Hair Growth
Spreading the wax opposite to your hair growth pushes the paste under each hair strand. This wraps the sugar tightly around the hair root.
- Look closely at your skin to see which direction the hair naturally lies.
- Press the sugar ball down firmly against your skin.
- Drag the wax slowly against the direction your hair grows.
- Glide over the exact same spot 2 or 3 times to wrap every single hair.
- Leave a slightly thicker edge right at the end so your fingers can grab it easily.
Also Read – My DIY Crop Top Obsession
Step 4: Flick Off Quickly
Removing sugar wax takes a quick flick of your wrist. Pulling close to your skin reduces discomfort and prevents bruising.
- Use your free hand to stretch the surrounding skin tight.
- Take a firm grip on that thicker edge of wax with your fingertips.
- Flick your wrist fast to snap the wax off in one quick motion.
- Pull with the natural direction your hair grows.
- Keep your hand low and parallel to your skin instead of pulling up into the air.
- Keep using that same wax ball on the next patch until it stops grabbing hair.
Step 5: Rinse Clean
As sugar wax is made up of basic ingredients that can be found in our foods, it can dissolve in pure water without being messy.
- Clean any small sticky areas with pure warm water.
- Do not use soap or any scrubbing loofah immediately after waxing.
- Dry your skin gently with a soft and clean towel after washing your skin.
- Apply some aloe vera gel or any light body lotion on your skin.
- Wear loose clothing and avoid taking hot showers for some time.
Safety Tips
- Never apply hot wax.
- Patch test first.
- Avoid broken skin.
- Don’t wax over sunburn.
- Stop if irritation develops.
Conclusion
The use of homemade sugar wax without the addition of lemons is among the easiest and cheapest ways of obtaining smooth skin at the comfort of your own home without having to visit a beauty salon. The addition of apple cider vinegar in place of lemons enables you to create your own natural wax which does not need soap or water to be rinsed off.
FAQs
1. Can I replace the apple cider vinegar with simple white vinegar?
Yes, white distilled vinegar will be perfect as well. It possesses exactly the same acidity as necessary for dissolving sugar without affecting the properties of wax.
2. Why is my sugar wax too hard like candy?
If the wax is kept warm for too long or the temperature becomes too high, then it will become too hard. This problem can be solved by pouring one spoonful of warm water and heating the jar for ten seconds.
3. How should I keep the remaining sugar wax?
Put the remaining sugar wax in a glass container, tightly closed, at room temperature. It will stay good for about 4 to 6 weeks. All you need to do when you decide to use it again is to warm it in a microwave for 10-15 seconds.
4. Is sugar waxing more painless compared to the usual waxing?
Most people agree that sugar waxing is definitely much less painful since it only sticks to dead cells of the skin and hair shafts.
5. How long should my hair be for waxing?
Your hair must be approximately 1/4 inch long or about the same size as a grain of rice. The hair should be long enough for the wax to adhere to the follicle.
Sources & References
- Sugarwax Haven: Sugar wax recipe
- The Whole Home: How to diy leg wax with sugar
- Bella Forever: How to make sugar wax